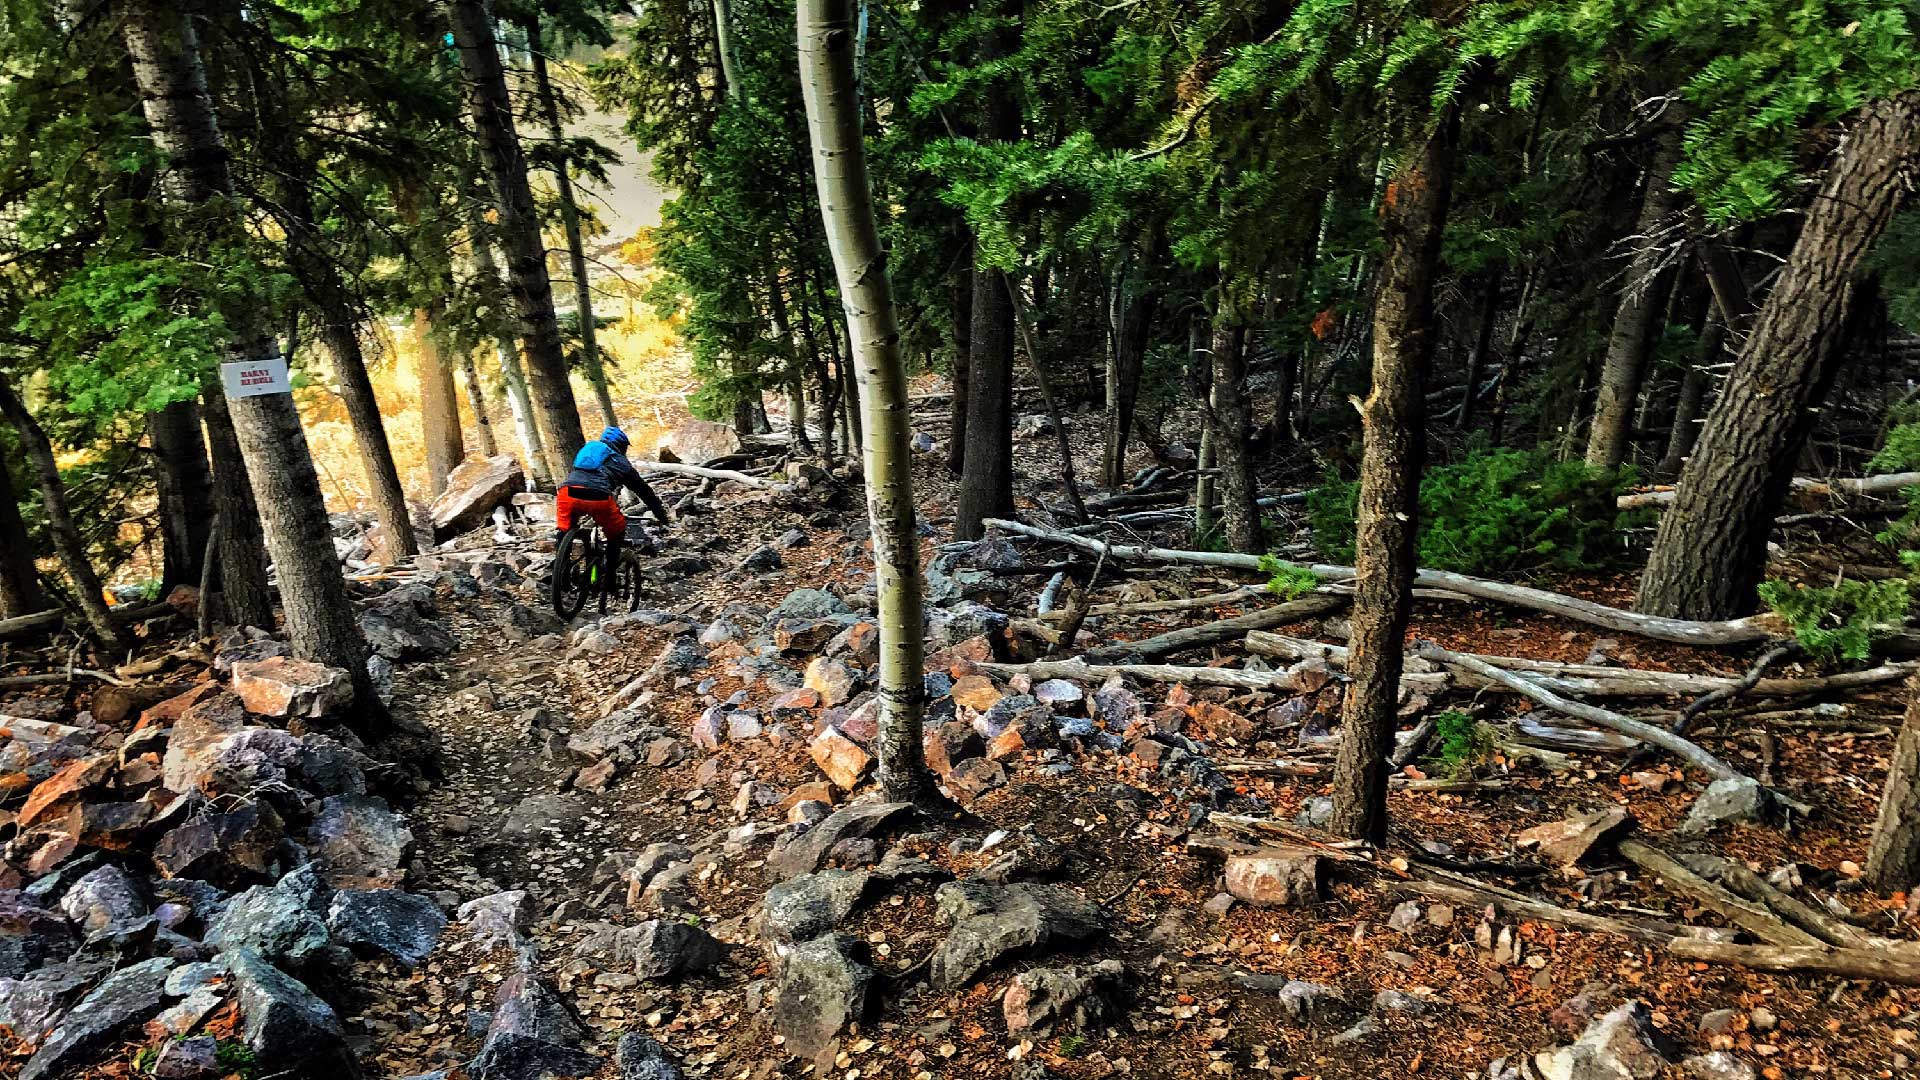
Park City has a lot of singletrack, over 450 miles that vary from smooth velvet trails to aggressive rocks and roots to 40-foot gaps. There are mean, steep climbs or fun twisty descents alongside mellower trails with scenic vistas. St. George and Moab are a short drive away with desert-style riding, and next door in Colorado are some of the rawest trails we have ever ridden.
We use these trails to hone our riding skills and tune our bikes to as near-perfect we can get them. The way a bike rides on trails like these and others like them around the world comes down to a myriad of factors, but one of the most important is your suspension setup. Having the right air pressure and the various red and blue knobs in the right place will smooth out your riding and provide efficiency on grueling climbs. Every rider is different and every bike demands a different setup. In order to take some of the guesswork out of it, we compiled four short videos with industry veteran and Sram Technical Ambassador Doug Dalton. Doug provides insight on compression, rebound, and sag setup.
Air Pressure
Setting the proper air pressure on your fork and rear shock is the first step in proper suspension setup. In the two videos below, Doug explains different air pressure for front and rear suspensions and how to set them properly.
rear suspension
front suspension
Rebound
The red rebound adjustment is arguable the most important. It ensures that you are able to make the most of your suspension travel through rough terrain and at the same time not get bucked over the front end of your bike. Check out the video for more insights from Doug.
rebound
Compression
Here Doug shines a light on that little blue knob on the top of your fork. Compression is key for small and large bumps alike and helps make sure that you are using your suspension travel to its full potential.
compression
Proper suspension setup is important and it has as much to do with personal preference as it does specific guidelines. For example, some riders like faster rebound, others don’t. As you hone your skills as a rider, you will pick up on subtle nuances that make you a faster and you will learn to adjust your bike accordingly. Mountain bike suspension is an art and getting it right takes time. The videos above are an excellent starting point, but if you have any questions feel free to stop by our two bike shops in Park City, Jans and White Pine Touring. If you’re too far away, no worries, stop by your own local bike shop and an expert there will be happy to help.
Paul Boyle, Data and Production Manager, jans.com