
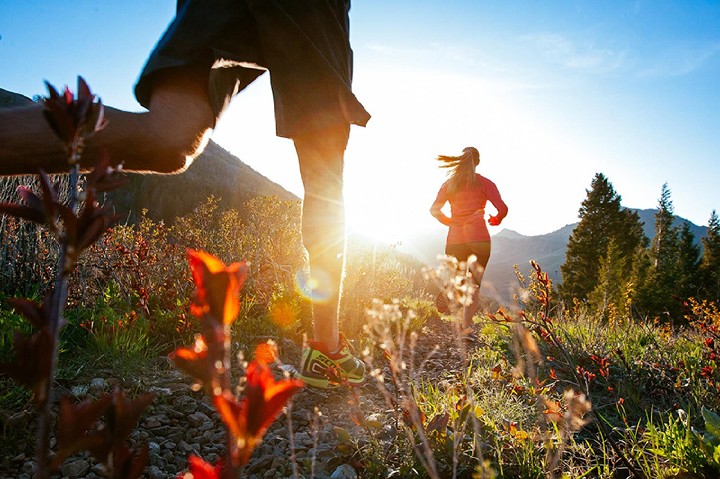
So you’re headed out on a hike. Maybe it’s your first, maybe it’s not. Either way there is a menacing threat waiting. Blisters of all shapes and sizes await hikers who throw caution to the wind and head out on the trails without a solid anti-blister plan. With three key components in mind, this plan is as follows:
Prevention: How do I avoid blisters?
If you have new hiking boots, make sure to break them in. No matter how excited you are about your new pair of walking boots, the very stiffness and durability that make them so effective can wreak havoc on your feet at first. Whether you simply wear them around the house in the evening, or slowly break them in with mellow walks around the neighborhood, any time spent getting your feet accustomed to your new kicks is well worth it.
Another ace in the hole when it comes to blister prevention is a high-quality pair of moisture wicking socks with an elastic retention system. Wicking wools and synthetics ensure that moisture can’t linger around your feet and soften them up for blister-causing friction. Elastic retention systems snugly and comfortably wrap the foot in key areas to keep your socks from slipping or bunching and then causing points of irritation.
For longer hikes, bring along an extra pair of socks. If you accidentally dunk a foot during a stream crossing, or simply end up sweating a lot on a hot summer day, you’ll be thankful for a dry pair of socks.
While this one may sound obvious, the need to keep debris out of your boots can’t be stressed enough. Over terrain that is especially sandy, muddy, or even just full of gravel, consider wearing ankle gaiters.
And finally, if you’re serious about hiking you’ll definitely want to consider purchasing a pair of waterproof boots. Modern waterproof membrane technology has allowed for the creation of hiking boots that are both fully waterproof and completely breathable. When it comes to preventing the build up of blister-inducing moisture in your boots, waterproofing is key.
Early Detection: What is that painful rubbing down there?
Did you know, what feels like a small, but tolerable, piece of debris in your boot may actually be a developing hot spot? Investigating these potential trouble spots during your next water break is the best way to ensure that they don’t become something far more sinister. Sometimes all it takes is drying out your socks, letting your feet cool down, and applying a protective adhesive to eliminate the friction that is causing your discomfort.
Other times, there’s simply no way to avoid the development of a hot spot. Whether it’s wet feet, a new pair of shoes, or just soft early-season feet, if you hike a lot trouble spots are inevitable. But all is not lost if you catch these areas of irritation before they become gruesome blisters.
Treatment: So you’ve contracted a blister. Now what?
It’s natural to be feeling upset and angry. “How did this happen to me?” “What did I do to deserve this?” “Is it contagious?” But despite their societal stigma, blisters happen to people from all walks of life. Even if you’ve practiced safe hiking your entire life, all it takes is one brief lapse in judgement for you to be affected. But don’t worry, as repulsive as they may appear, blisters will not spread to your hiking partners.
While the initial shock of finding a blister can be overwhelming, the treatment options available are highly effective. But before you do anything, you’ll want to sit down with your hiking partners and have an honest conversation about your blister. Together you can go over the steps for your treatment, and how you will continue a supportive, healthy hiking partnership despite the disgusting, fluid-filled sac on your foot.
- Clean the affected area. Left untreated and stuffed in a sweaty, dirty boot, blisters are a recipe for infection. Proper cleaning is key. First, use a little purified water to remove any dirt or grime that has infiltrated the soft, irritated skin on and around your blister. Next, sterilize the area with an iodine or alcohol prep pad to ensure that bacteria doesn’t have a chance to flourish. And finally, allow your foot to fully dry before applying any bandages.
- Wrap it up. There is no “right” way to bandage a blister. Obviously you will not want adhesives directly on your blister, so some creative layering is in order. For a classic method, cut a donut shaped piece of moleskin with an opening just large enough to comfortably fit around your blister. Once the moleskin is adhered in place, cover the blister with an appropriately sized piece of non-stick gauze pad with a small dab of antibiotic ointment. And finally (and this is the tricky part), cover the treatment area with medical tape. Getting medical tape to stay in place in a damp boot is no easy task, so be sure to check that your medical masterpiece is properly functioning at each stop.
As advances in hiking boots and hiking socks continue to be made, fewer and fewer blistered hikers are found on our trails. That being said, blisters strike when we, as hikers, let our guards down if only briefly. With proper knowledge of blister prevention, detection, and treatment, we can forever rid our trails of these painful and hideous growths.
“The group is only as strong as its softest-footed hiker.”
-Sir Edmund Hillary (probably)
Nate Tomlinson, Content Writer


