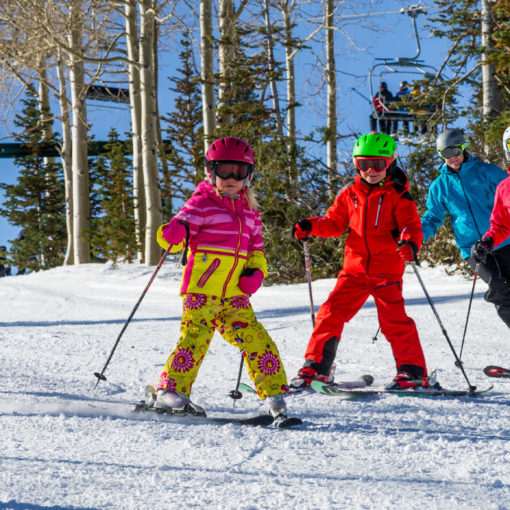
We’ve all had days when our ski clothes weren’t quite right for the conditions on the mountain. Maybe you’re warm and comfortable on the chairlift, but you start sweating when skiing a more challenging mogul run. Or perhaps your down jacket usually keeps you very warm, but you didn’t realize freezing-cold, strong wind gusts would penetrate your puffy and chill you to the bone. One thing we’ve learned from experience is that layering is key, and having the right combination of layers for the conditions can make or break your ski day.
So how does one layer for skiing? It’s a bit of science and a little bit more preference. We talked at length about how we like to layer and everyone had a slightly different answer. However, there was a basic three-piece formula to start with: baselayers, insulation, and shells. These components can be mixed and matched depending on conditions or if you naturally run hot or cold. And then there is a seasonal component too. So for this piece on layering for skiing, we decided to take those three basic components and apply them to the deep winter months of November through February and the spring months of March through May.
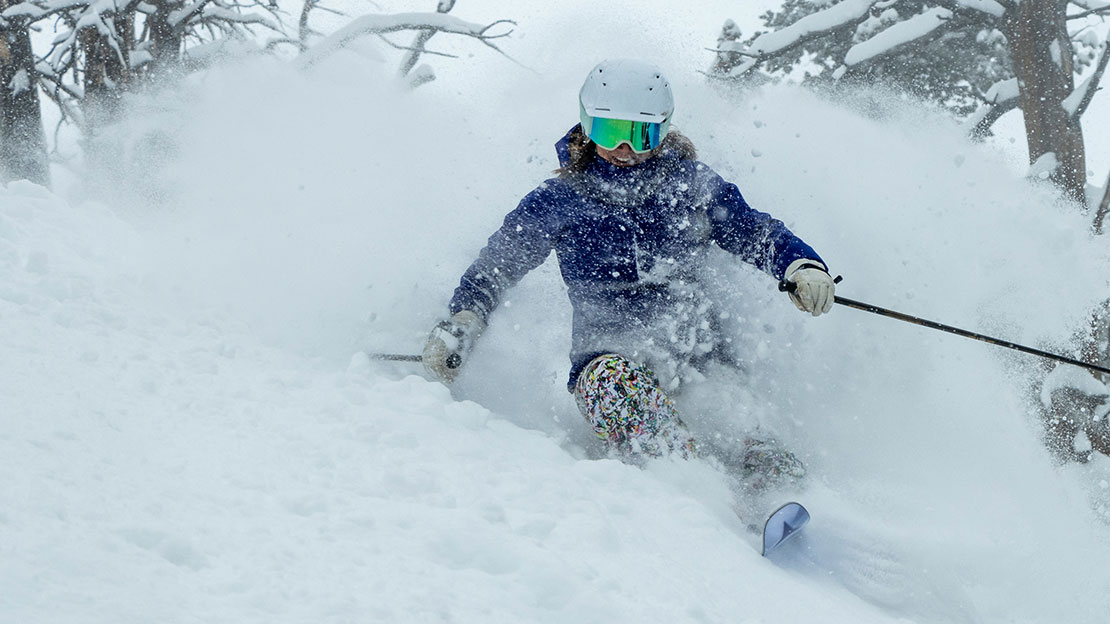
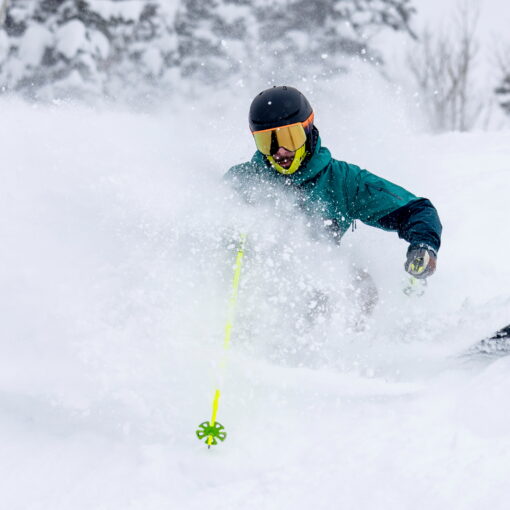
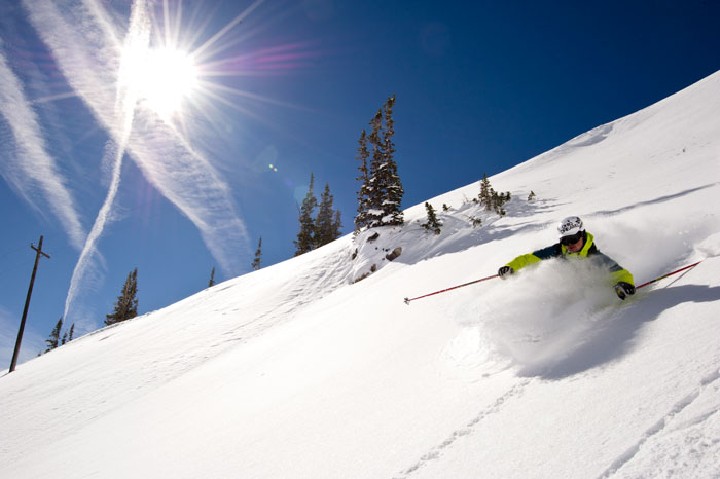
Winter
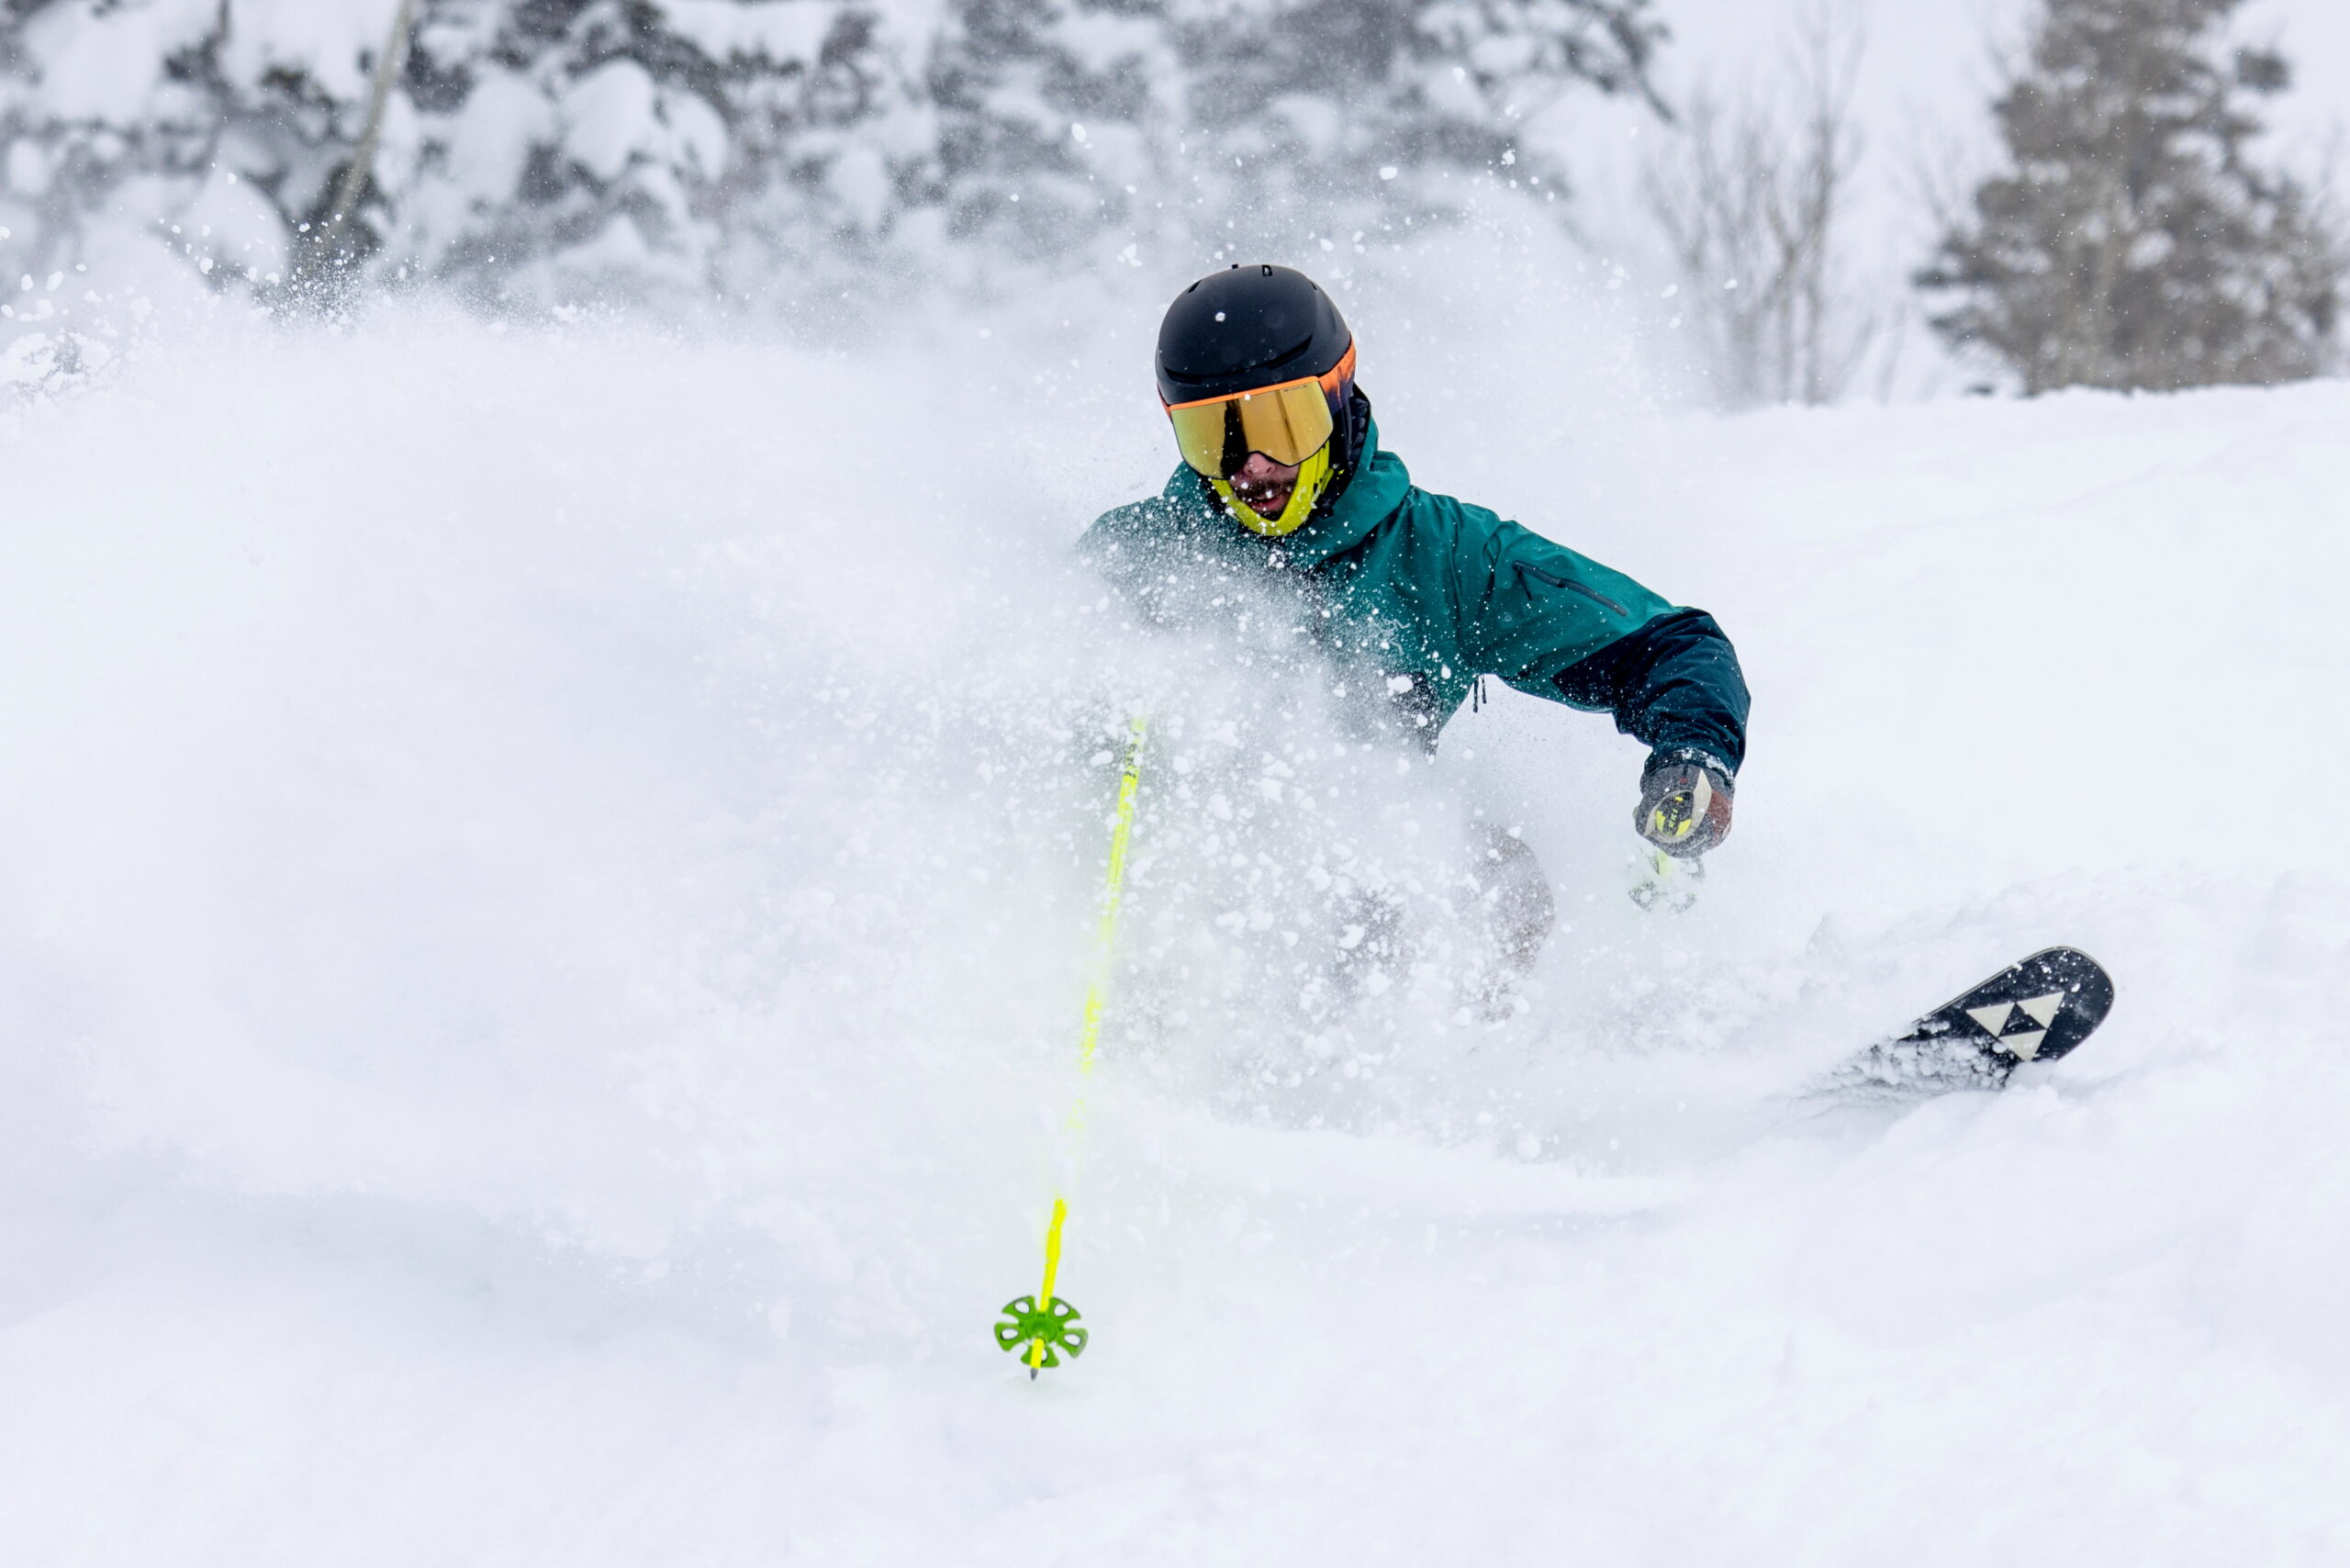
Paul – Whether you’re downhill skiing or participating in other outdoor activities, layering is an essential part of staying warm and comfortable in cold winter conditions. Proper layering can help regulate your body temperature and protect you from the elements. Here are some tips for layering effectively during the coldest, harshest winter months:
- Baselayers: This is your starting point and this layer should be made of moisture-wicking material, such as wool or synthetic fabrics, to pull moisture from your skin. Baselayers are fitted or close-to-skin. This maximizes the surface area that is in contact with your skin to wick moisture and allow your body to better manage natural temperature.
- Insulation: An insulating layer helps to trap heat and keep you warm. Fleece or synthetic materials work well for this layer. Many of these layers are “hybrid” pieces, which means they use insulation on key areas like your chest and core, while more-breathable fabrics cover your arms and back to vent excess heat and boost range of motion.
- Shells: Top it off with a waterproof and windproof outer layer or shell. This layer should be made of a waterproof and windproof material, such as Gore-Tex, to protect you from the elements, and it could be lightly insulated if it’s not touring-specific. A good outer layer will be roomy to accommodate layers underneath.
- Accessories: In addition to your layers, don’t forget to bring a hat, waterproof gloves, and a neck gaiter to keep your head, hands, and neck warm. These accessories can be added or removed with ease and stow away in a pocket if not needed. And more specifically, a glove liner acts like a baselayer for your hands. Having a thin piece like this underneath your ski gloves or mittens greatly enhances warmth during winter’s coldest months.

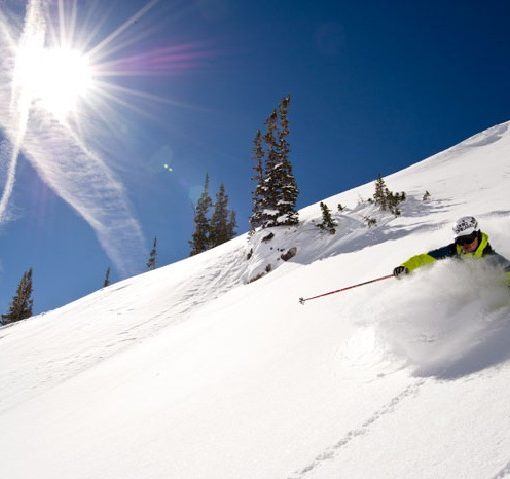
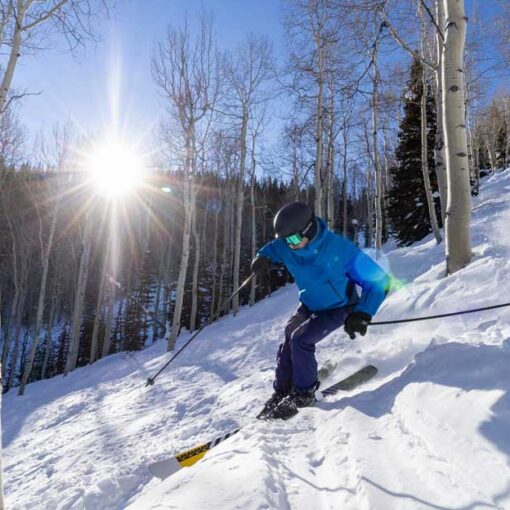
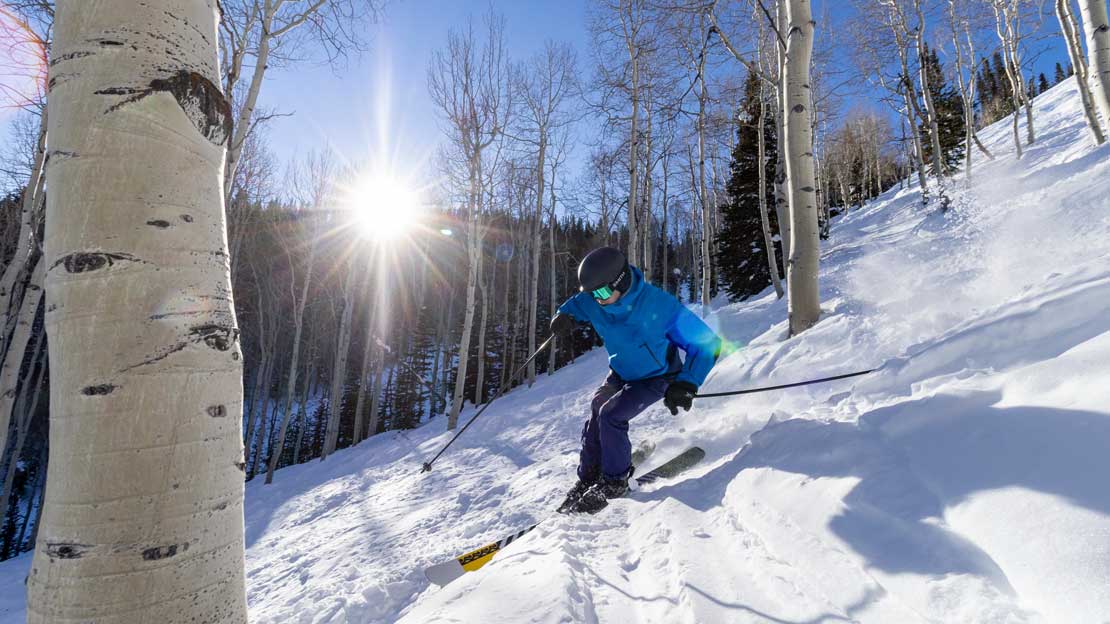
Spring
Chris – Dressing for spring skiing can be tricky. Temperatures swing from below freezing in the morning shade up into the 50- to 60-degree range in the balmy afternoon sunshine. After the winter solstice, each day is a little longer and has more sunshine. These temperature shifts can lead to fantastic spring corn snow that’s really fun to ski—and if you nail the wardrobe component, then your experience will be even more enjoyable.
- Baselayers: Your baselayer—or absence of one—is an important part of your layering system. The heavy, thermal leggings you wear in the dead of winter will likely leave you sweating under the spring sun. To avoid overheating, think about scaling back your baselayers and leaving some gaps that will allow bare skin to cool down under your shell layers. A summer hiking t shirt is a great example; letting your forearms catch a breeze through your jacket pit vents is a great way to quickly cool down. Light mesh shorts are also an option under your shell pants if you find yourself overheating in legging bottoms.
- Insulation: For days that start out really cold, especially in early spring, a light insulating layer can help keep you warm in the morning hours without being too hot to make you sweat. I like using a medium-weight quarter-zip top that allows some temperature control at the chest. And when it gets too hot, I can easily roll up the shirt, tie it around my waist or shoulders, and zip it up under my jacket. If you need something warmer for serious temperature swings, then a midweight synthetic puffy jacket that packs into your shell pocket is a good choice.
- Shells:
- Softshells: Softshell outerlayers tend to have a tighter, more-fitted look that fashion-forward skiers may prefer. A durable water repellent (DWR) coating can make softshell materials effective in wet weather, and it offers protection against wind chill. These materials are usually highly breathable as well, so they’re a good choice for warmer weather and high-output activities in the snow.
- Lightweight Shells: A set of lightweight, waterproof shell jacket and pants should be key pieces of your spring skiing kit. Sometimes the forecast calls for snow, but it’s 33 degrees in the parking lot; you want to be ready for a wet day. Waterproof shells are less breathable than softshells, so zipper vents under your arms and on your legs can help keep you from overheating. The good thing about a quality shell is you can use it in the colder winter months too—just increase the warmth of your base- and insulation-layers.
- Jorts: This goes without saying, but if you get a chance to go skiing when it’s warm enough for jorts, why not?
- Accessories: Even though it’s warmer out, covering your skin and protecting your head and eyes are still really important for spring skiing. Lighter, more breathable articles can keep you protected without overheating. Resist the urge to ski without your gloves because that snow is not soft, and those tiny ice crystals will shred your hands if you take a spill. I like to use lightweight liners so I’m not sweating in my heavier leather ski gloves—those stay in my pocket for when the sun goes behind the ridge. Remember there is increased solar radiation during spring months, so sunscreen and eye protection are must-have items. Finally, don’t forget your helmet! Some headgear choices have vent ports that can open to allow airflow, and removeable earpads can make helmets more warm-weather friendly.

And there you have it! Layering is two parts science, one part art, and one part preference. Having a good idea of the hourly forecast helps. And if you’re touring or skiing at your local hill, then pack one or two extra layers so you can change it up throughout the day. The conditions change rapidly in the spring, so it’s important to be able to shed or add layers as the day goes on.
By Paul Boyle and Chris Norwood, jans.com