Fixing Your Flat on the Fly
Last updated: July 16, 2026
Ack! You just got a flat tire while riding your new road bike. Inevitably, you ask the bike universe, “Why is this happening to me right now?” And you’re starting to sweat thinking about how to get that snazzy new tire off and back onto the frame without causing any damage to the disc brake. Not to mention, you don’t want this tire debacle to cut into your ride time too much. So, now what? We got you covered. In this post, we will discuss step by step how to change a flat tire on a road bike with disc brakes.

- Before you do anything, especially if you have a rear flat, it’s important to upshift your bike gears so you can maneuver the chain easily. This means your chain should be on the smallest ring of your cassette prior to getting started changing your tire.
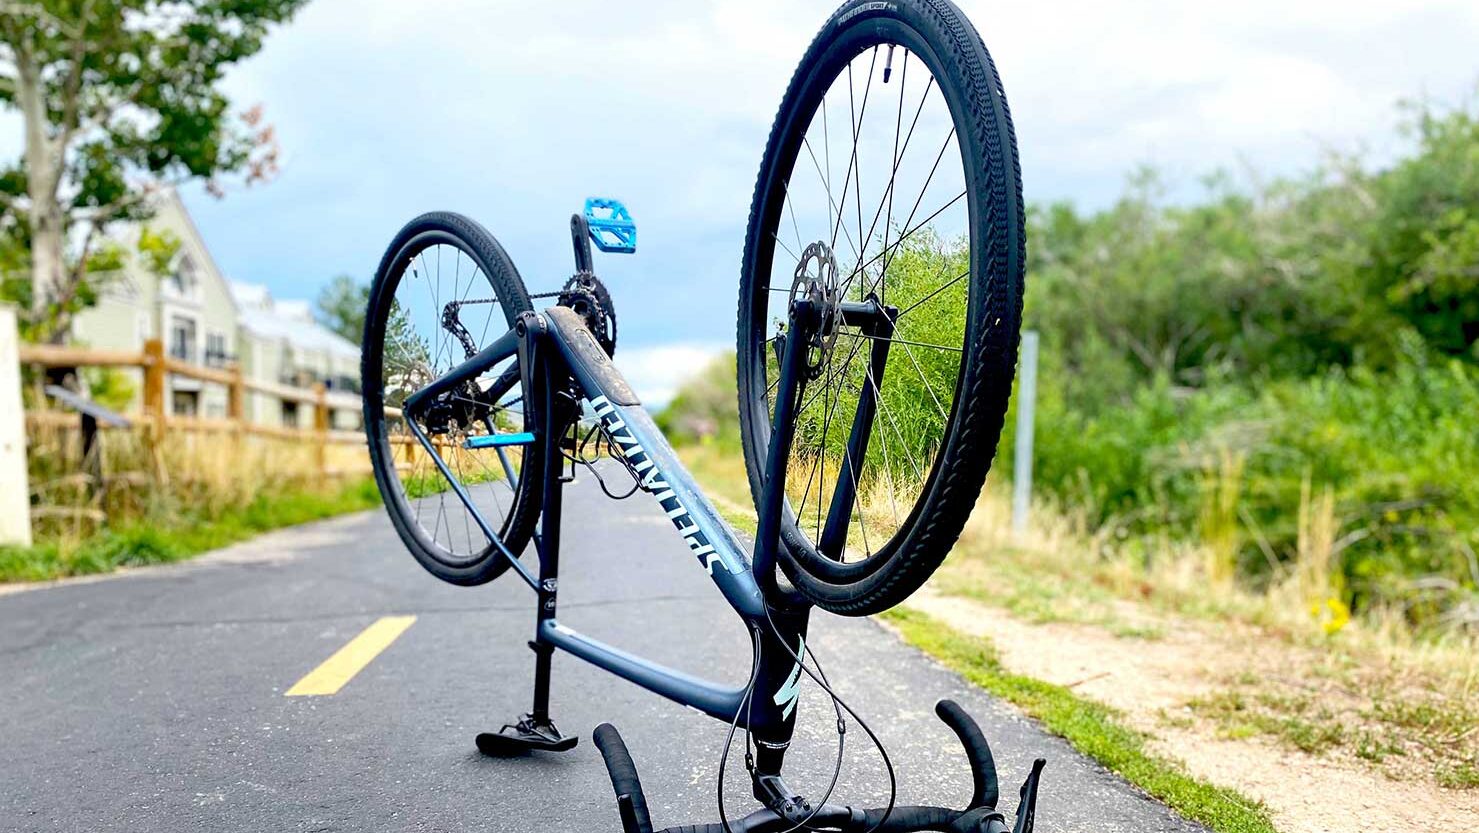
- While not totally necessary, this next step makes your life much easier. Begin by flipping your bike upside down. Or, if you‘re near to or can get to a bike stand, that would be a super awesome way to elevate it off the ground. Either way, this first step will make it easier to work on the tire.
- Next, you need to get that tire off. Locate the brake caliper (which sits right next to the disc by the bottom fork of the bike), and then release the brake caliper if it is still engaged by either pulling the brake lever or loosening the quick-release mechanism on the brake caliper itself by pinching the top and bottom together. This will create enough space to remove the tire. It’s important to note here that it is best practice to not touch, or wipe the rotor with any oils, including your skin oil as can cause issues with your brake rotor.

- Then, locate the quick-release skewer or through-axle that holds the wheel in place. Unscrew or release it to loosen the wheel from the frame. Loosen the skewer lever on one side and unscrew the nut on the other side of the front wheel.
- Once the wheel is loose, carefully lift it out of the bike’s drop-ins at the rear or front. You may want to put a spacer in between the brake pad at this point because if you accidentally squeeze your brakes while the tire is off, you will lose the spacing, making it tricky to open up the pads. While not necessary, a spacer—an actual bike spacer that you can purchase at a bike shop or a makeshift one like your hex tool, will help keep that space until you put your wheel back in place.
- Use a tire lever to pry one side of the tire bead away from the rim; I like to leave my lever in place and run it along the wheel until the tire is completely off the rim. The point is to get the tire off of at least one side of the rim so that you can pull the inner tube.
- Inspect the tire for any debris that may have caused the flat. Sometimes we forget to do this, but its crucial to avoid future problems. The object that caused the flat could still be in there, ready to puncture your new tube. So, be sure to remove any foreign objects if necessary.
- Grab your spare inner tube, inflate it slightly to give it some shape. Insert the valve stem into the hole on the rim and start tucking the inner tube back into the tire, making sure it is evenly seated.
- Once the tire is fully seated, inflate it to the recommended pressure specified on the sidewall of the tire. Sometimes, if you are using an air cartridge, filling your tire completely isn’t always an option. But you should be able to fill enough to get you through your ride and back home or to a bike shop, so you can adequately meet the pressure requirements.

- Now, carefully insert the wheel back into the drop-ins, making sure it is centered between the brake caliper and secure it in place using the quick-release skewer or through-axle from step 3. When putting the wheel back in, make sure it’s square or flat down in the drop-ins. Make sure the wheel is properly aligned and centered within the frame. I like to give it a little wiggle.
- Finally, test the brake caliper by either engaging the quick-release mechanism or pulling the brake lever until the caliper is correctly positioned against the rotor.
On The Road Again
That’s it! You did it. You may have bike grease all over your fingers and a yard sale of bike tools lying around you and your bike, but you have successfully changed the flat road bike tire with disc brakes, no bike repair expert needed. Pat yourself on the back, rockstar, and then get back to your ride!
Remember to reload your bike pouch with a new tube and your tools. It’s always wise to carry a spare tube, tire levers, and a small pump to handle any potential flats that pop up and attempt to damper your dirt-riding adventures. And if changing a flat tire is the last thing you want to think about, you can protect yourself from flats all together with specially-designed self-sealing tubes that instantly seal small hole punctures.
By Laura Kent, Editor, jans.com

