In an avalanche there are no second chances. Which is exactly why Jillian Ritter, jans.com Content Manager, enrolled in an AIARE Level 1 avalanche course. Over the course of three days, Jillian participated in eight hours of classroom instruction and sixteen hours of on-snow training to become proficient in avalanche safety and rescue. She learned everything from how to efficiently pack a backcountry pack to how to conduct in-depth snow studies. “People looking to get into the backcountry should definitely take this class,” recommends Jillian. “Not only do you learn about avalanche danger and how to navigate through the terrain, but it also teaches you to how use your backcountry gear.”
Why Take an Avalanche Course?
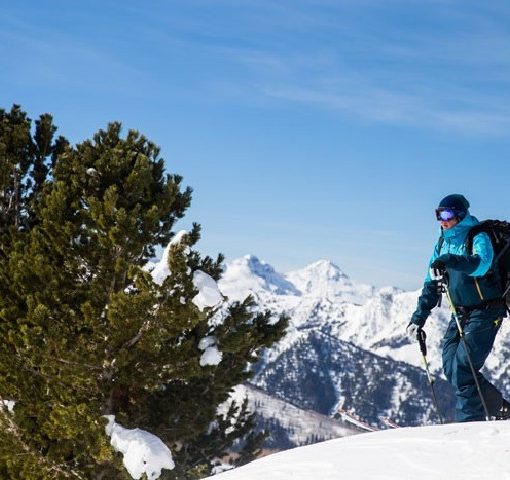
Anyone venturing into the backcountry to recreate, be it skiing, snowshoeing, snowmobiling or Nordic skiing, needs to be educated about avalanche safety. “I’ve been wanting to ski in the backcountry and I didn’t want to be ignorant about it,” says Jillian. This is reason number one why it is vitally important to take an AIARE Level 1 Course.
Any avy course is only as good as the information provided by the instructors. Jans’ avalanche courses are all taught by AIARE certified instructors who possess a wealth of knowledge and experience in the backcountry. Jillian’s class was taught by seasoned mountain guides, Bruce Engelhard and Kevin Langlois. Bruce works for the University of Utah, the Utah Avalanche Center and is a guide for Utah Mountain Adventures while Kevin guides for Utah Mountain Adventures as well as Park City Powder Cats. To say that these guys know their stuff would be an understatement. And despite a full day of classroom instruction, they did an excellent job of inserting personal stories throughout to help participants visualize all possible scenarios.
Additionally, Jans Communication Director, Scott House, lends a hand during the on-snow instruction portion of the course. According to Jillian, “Scott is very thorough. He gives you the background that you need and re-emphasizes what needs additional explanation. He doesn’t make you feel intimidated when asking questions.” This personal relationship and level of instruction is exactly what you should expect when signing up for any avalanche course.
What You’ll Learn During an AIARE Level 1 Course
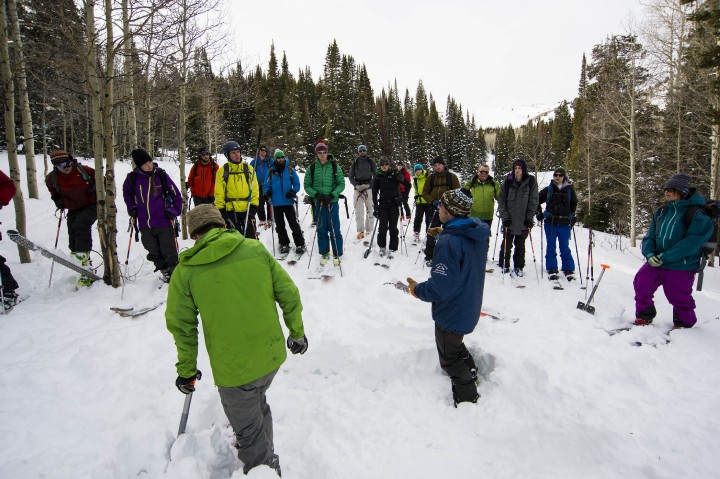
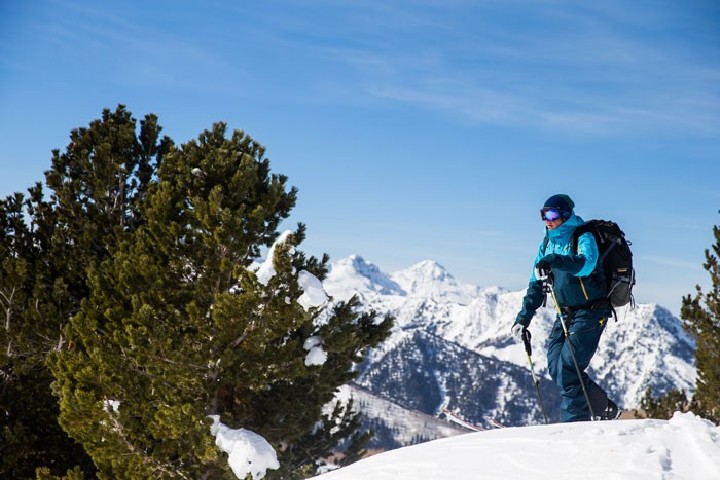
Following the classroom portion of the Jans avalanche course, participants spent two additional days out in the field with hands-on instruction. Each morning, they met at White Pine Touring on Bonanza Drive to review the avalanche forecast for the day and hypothesize about snow conditions. Then they headed over to the Canyons resort for a series of snow studies and tests and the chance to skin uphill. “I really liked skinning up,” says Jillian. “It’s just so smooth and I kind of had this feeling of earning my turns, so I enjoyed skiing down even more than I normally do.”
On-snow instruction started with a beacon drill where the guides taught the students how the wavelengths on a beacon work and how to use their beacons. Then the instructors hid a beacon to imitate a rescue and students worked together in groups to locate it, using their shovels and probes to actually dig out the beacon. Jillian says that the guides taught them how to be efficient when rescuing somebody. “We learned instead of shoveling into the heavy snow, to shovel to the side and scoop the snow out.”
The instructors also set up a variety of snow studies and tests. In one instance they dug out a wall in the snow and showed students how to look at the layers in the snow to figure out which layers were hard and soft. The guides explained that a hard layer of snow over a soft layer is what causes an avalanche slide. They used the analogy of an Oreo, which made it easy to visualize and remember. The first layer of snow can get weak via the warmth and it crystalizes making the soft layer of snow even weaker. Then, when fresh snow creates a layer on top of that, which becomes hard-packed, it creates a strong layer over the weak layer of snow. This makes it easy for the top layer to slide, resulting in an increased risk of avalanche.
The participants also learned how to perform a tilt test, where you put your shovel under where the snow is cracked and tilt the shovel to see if the snow falls off. Then you use your probe to measure how far down the snow has a propensity to slide. Jillian says the snow study was the most difficult portion of the class since writing down the results was pretty complicated. It didn’t help that the snow study was in the late afternoon during a particularly cold Park City weather pattern.
What You Should Take to an AIARE Level 1 Course
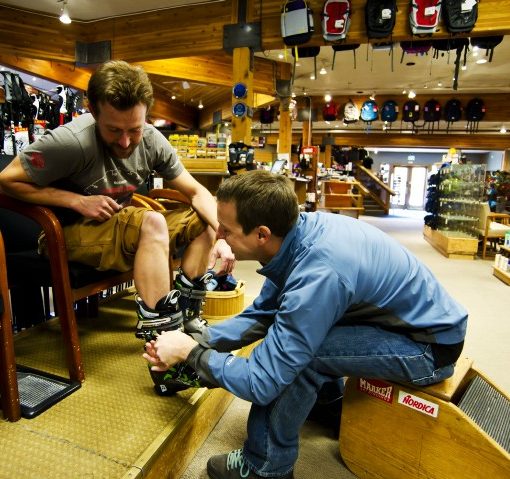
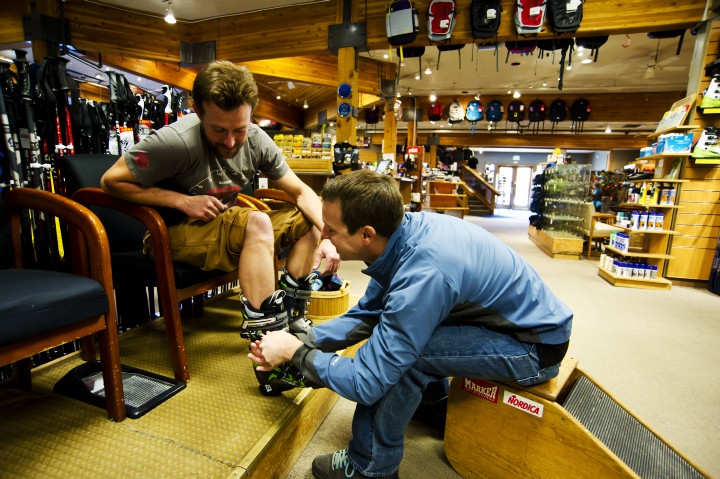
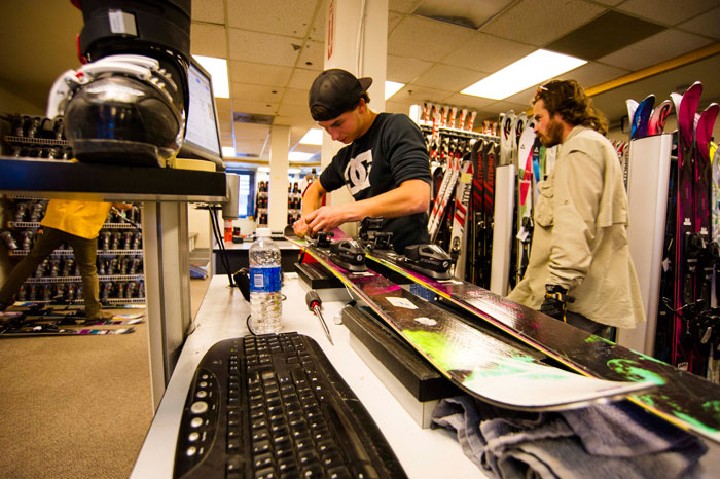
When enrolling in an avalanche course, keep in mind that you will need to bring all of your backcountry equipment to the class including skis, skins, boots, poles, a beacon, shovel, probe and pack. Your skis should be mounted with either alpine touring (AT) bindings or telemark bindings, and if you choose not to skin up, snowshoes are another alternative. For specific equipment recommendations by Jans Expert, Scott House, read his blog on How to Pack a Backcountry Pack.
Also be sure to dress appropriately for an entire day spent outdoors. That means layers and lots of them. And since there is no break for lunch (and no restrooms either) be sure to bring along lots of food and warm drinks to keep your body temperature up during the snow studies.
When asked if she felt ready to venture into the backcountry after her extensive three day avalanche safety course, Jillian smiles, “Definitely. But I’d stay below 30 degrees until I built up my confidence more to rescue somebody.”
If you’re heading into the backcountry and want to register for a Jans’ avalanche course or to learn more about our various offerings, click here.
Liz Yokubison, Senior Editor
